Building the Source Code
1) Download and install Android Studio.
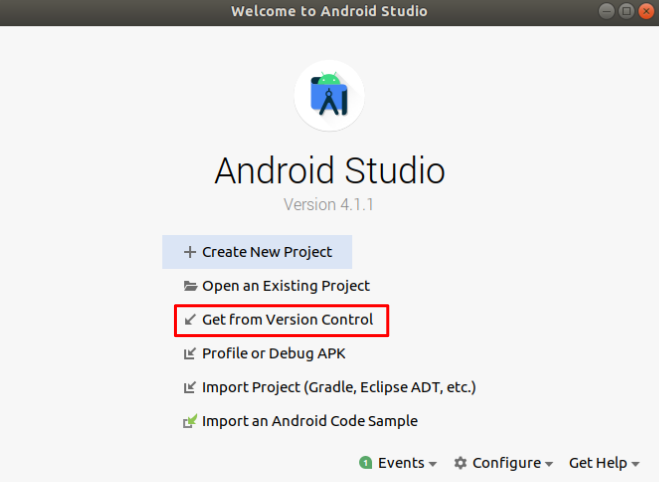
2) Launch Android Studio and select Get from Version Control from the Welcome Screen.
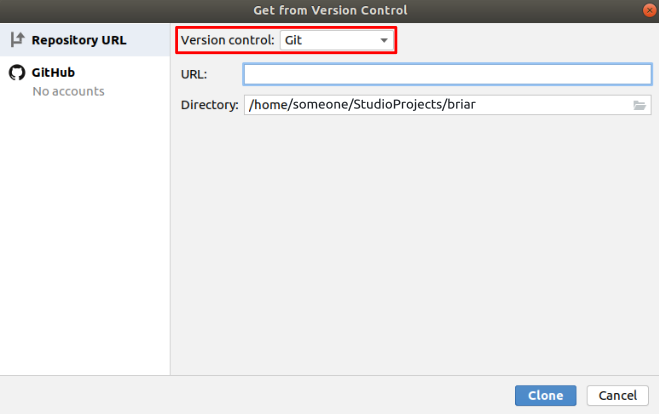
3) Another screen pops up. Ensure that Version control is set to Git.
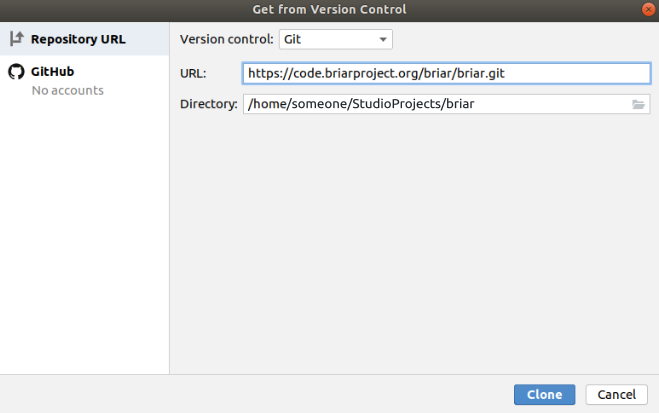
4) For the URL, enter https://code.briarproject.org/briar/briar.git if you want to build Briar, or https://code.briarproject.org/briar/briar-mailbox.git if you want to build Briar Mailbox. Then click Clone.
This process may take a while, and you should see a dialog similar to this.

5) When the source code has downloaded, components will be loaded and the project will open in an Android Studio workspace.
6) Wait for Gradle to sync.
You may be unable to build the project due to the error: It is not fully supported to define distributionSha256Sum in gradle/wrapper/gradle-wrapper.properties…
To resolve this error, look in the Event Log for a link that says Use “c9490e938…” as checksum for https://services.gradle.org/distributions/gradle-7.3.3-all.zip and sync project. Click the link to continue building the project.
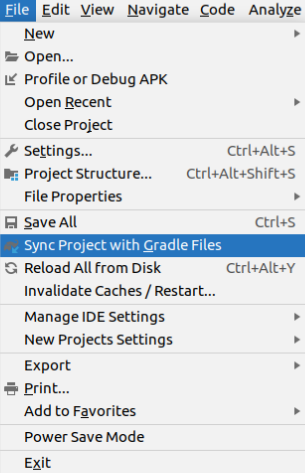
It takes several minutes to download, install, verify and configure the required packages and tools. If the sync process fails at any point, select Sync project with Gradle Files from the File menu to restart the process.
7) Follow Android Studio’s documentation to set up a device to run your app on.
8) If a device has been properly set up, you should see it under Running devices in the target device drop-down menu. Select the device and click run button (or select Run > Run ‘briar-android’ from the menu).
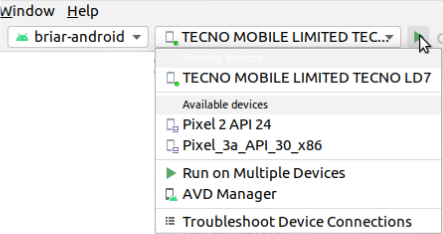
Android Studio builds the app, then installs and launches it under the name “Briar Debug” on the selected device.
Updating
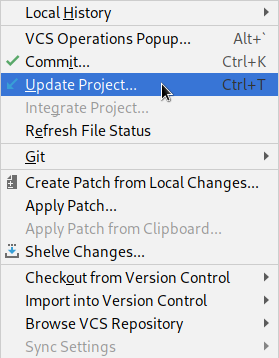
9) Briar is under constant development, so you should check for updates regularly. To get the latest version of the source code, select VCS > Update Project.
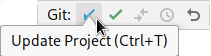
Alternatively, you can also use the Update Project button on the toolbar:
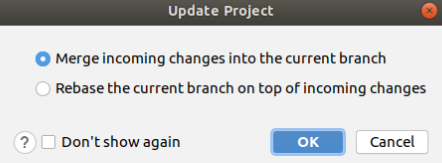
10) Choose whether to “Merge incoming changes into the current branch” or to “Rebase the current branch on top of incoming changes” (Recommended) and click OK to proceed.
11) Repeat steps 7 and 8 to build and install the updated app.
If you’re interested in getting involved or following the progress of the project, please don’t hesitate to get in touch.

